


The Summer Dawn Wrap Dress is very dear to my heart as it was designed for my beautiful sister, Summer Dawn, to get ready in on her wedding day. I used the short dress (View A) for myself and the other bridesmaids to get ready in and created her gorgeous dress by a simple mod on the short dress. All the details, a bonus pattern piece and tutorial to make the Summer Dawn Wrap Lace Dress can be found below.
In addition to what is listed in the pattern you will need the following:
The width you go with for lace is completely up to how much gathering and how full you would like. I used exactly 2.25 yards of lace for the size Small, Summer Dawn I made my sister and found it to have the perfect amount of twirl and elegance. If you are making XL-3X or want it even fuller on the bottom, you may want to consider adding more width.
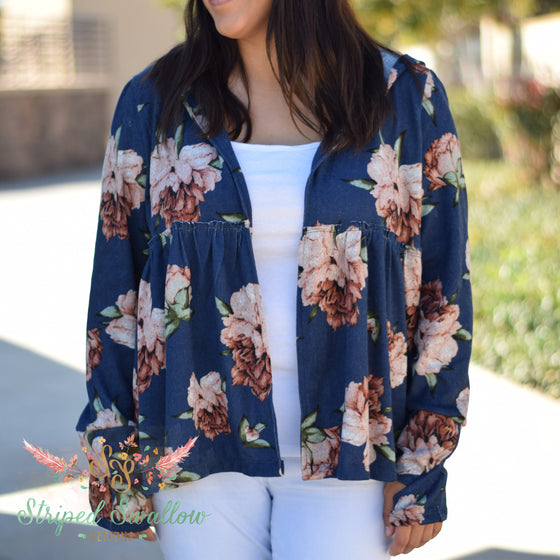
The gorgeous floral double brushed poly was purchased at So Sew English and the beautiful scalloped lace from Joann's. The first thing you will want to do is sew View A of the Summer Dawn. View A has an angled front skirt so I drafted a separate front skirt that is straight across and perfect for adding lace. You can download the front skirt piece here.
For the ties, you may choose to go with View A or B ties depending on how long you would like the ties to hang. I chose to go with the shorter View A ties.
Note: make sure to add the optional bodice side seam elastic per the tutorial since the lace will be quite heavy.

Try the dress on and then measure from the bottom of the dress to the floor. Then add 3 5/8" to that measurement. This is the length you will want to cut (unless you are planning on wearing the dress with heels than you will want to add a couple inches).

Next fold the lace in half matching up the selvage edge (scallops in this case). Then measure up from the bottom of the selvage or scallops to total length needed and cut all the way down the fabric removing the fold in the process and creating two separate pieces. This created 2 1/4" wide pieces. One piece is now the back. 
The other piece of lace will be cut for the front pieces. Divide the total width of the piece by 3. The front under wrap lace will be 1/3 and the over wrap will be 2/3. For example, my piece was 2 1/4 yards which is 81". Divided by 3 and that's 27" for the under wrap with 54" remaining for the over wrap. Set the lace aside for now.
Next sew the 3 pieces of lace right sides together to make one skirt piece. The back piece will be in the middle and then make sure you check which side overlaps when wearing the dress to determine which side the shorter pieces need to be sewn to. The "under wrap" is shorter in length and needs to match up with the wrap piece that goes under when wrapped. Also, note I did not serge the lace as I did not want the serger threads to be seen through the lace.
Next grab your stay tape.

Try on the dress and mark the "under wrap" skirt at the bottom hem, exactly where the "over wrap" skirt piece is hitting. As indicated by the pin in the middle of the photo below. This is where the lace will end. This will keep the lace from ending up with two layers in the front.
Next we will sew the stay tape to the skirt. The stay tape will be placed 3" up from the bottom of the skirt. I place a piece of tape on my sewing machine to make sure I'm keeping the same distance from the hem while sewing it on. You can see where the stay tape starts at the mark you just placed as it does not need to be any further.

Set your machine to a stitch length of 4 and sew. This will act as a stabilizer and guide for sewing the lace to the dress.

Mark the back center of the lace. Then gather 5/8" from the raw edge. Since this is quite a bit of fabric, I gather each section individually.

Mark the back center of the skirt.

Match up the back center marks on the skirt and lace. Pin the lace along the gathering stitches and stay tape.

Spread out the gathers evenly. The front under wrap lace will stop at the end of the stay tape.

Pin like crazy! Then sew the lace using a stitch length of 4, along the gathering stitches and stay tape. The raw edge should be sticking up 5/8" inch for a sweet detail.


I chose to add lace to the sleeves to pull the dress altogether.
Measure the width of the sleeve. Use the measurement plus 1" for the width. For the length, I used 1.5" on her dress so .5" is under the sleeve and 1" hanging down past the sleeve. You can of course make it longer for a more dramatic look.
I cut two strips of lace for each sleeve, so laid one on top of the other before attaching since this lace was quite sheer.
Fold the short ends under .5", slide the lace up inside the sleeve matching the fold up with the sleeve seam, pin in place and sew along the sleeve hem stitching.
I hope you enjoy this special dress as much as us and would LOVE to see your version over in our facebook group or on IG!
xo,
Mandalynn

Comments will be approved before showing up.

Vanessa
August 12, 2017
This is beautiful! Congrats to your sister and family. =)