With the release of the Girls' Willow Raglan comes something else that is new to SSD--trimless pages! I am a huge fan of trimless patterns and I hope you guys love this change too. Additionally, there is no separate US Letter and A4 pattern files! Using Acrobat Reader, simply select which format you use in the layers section. Easy peasy!
On the left we have our new print layout and on the right, the older trim pages.

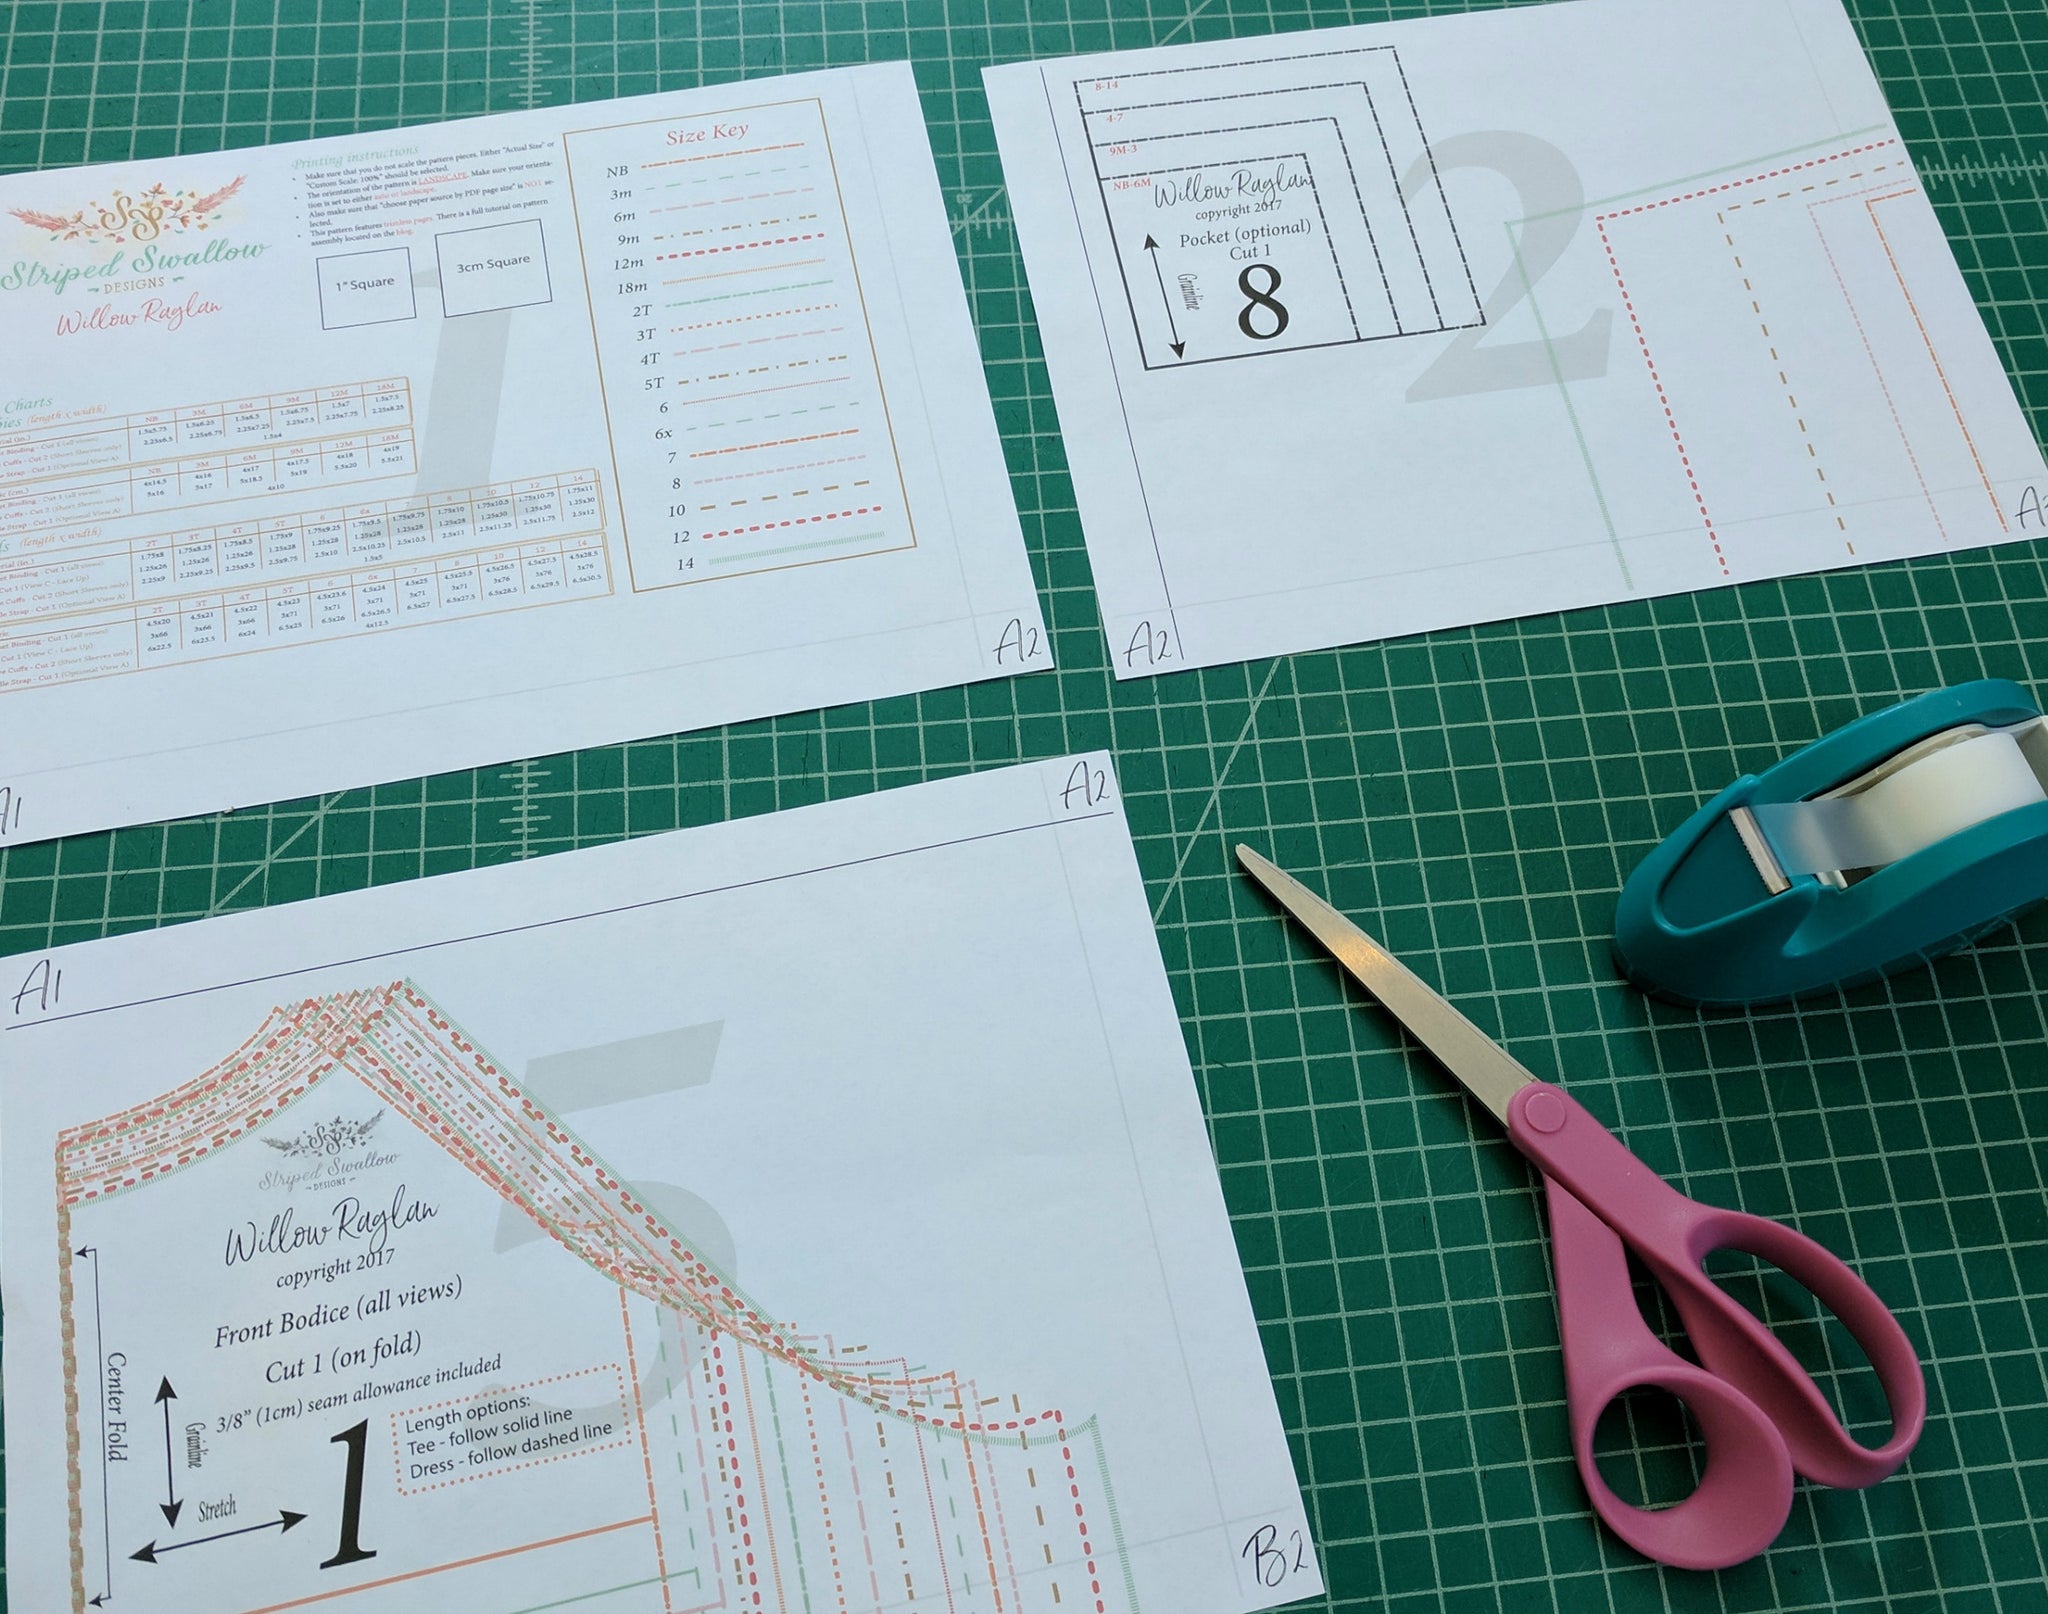
A quick refresher: Our trim pages show the pattern in 7"x10" boxes and to use them you cut away the edge along the outline and butt the lines against each other. They have both diamond markers in the middle to help with alignment, as well as quarter circles in each corner with letters in them to show which pieces needed to be connected. Cut and tape the pattern together and there you have your fully pieced pattern!

The new trimless design is very similar in idea, just a little bit different in execution. You can see Mandalynn has changed the style of the letters in each corner and the border lines aren't actually a border anymore--they show you where your papers should overlap.

Instead of cutting your borders out, just overlap the pages and tape in place--or my personal preference, glue! I love Scotch Craft Sticks, they're much sturdier than a regular glue stick.

The alpha-numeric indicators in the corners should overlap completely when you piece and the edge of the paper should overlap and butt up to the solid black line. The faint gray line indicates how much of an overlap there ought to be when using US Letter size paper (A4 paper will look a bit different, see bottom of the post).


Beautiful!

New, trimless on the top left. Older, trim pages on the bottom right. The difference is subtle, but will save you so much time in piecing!
If you are using A4 paper, execution is pretty much the same! The borders are dashed instead of solid and you will end up with more of an overlap horizonatally.

First notice the dashed line at the very bottom of the page.

Overlap and butt it up to the dashed line at the top of the page below. Notice on the right of the pages here there is quite a bit of blank space.

The alpha-numeric indicators in the corners should overlap completely when you piece together the pages and the extra blank space should be behind the page. Sometimes this extra space will end up to the left of the pages as shown below.

Either is fine, just know that it will sometimes end up on the opposite side and use the alpha-numberic indicators as your guide.

I hope you guys love this new change and the new Willow Raglan with it, as much as we do!
-- Erin
Comments will be approved before showing up.