So I might have an obsession with the Desert Breeze, I'm up to 8 in my closet right now and probably need a few more!! When Melissa of Rebel & Malice posted her cami version, I decided I had to give it a go! You'll need the Women's Desert Breeze pattern and also the Slim Fit Add-on to make the cami DB. Today I will be showing you how to make the cami with a shelf bra (without cups). If you prefer to add cups there is a great tutorial over on the Closet Case Files blog here.

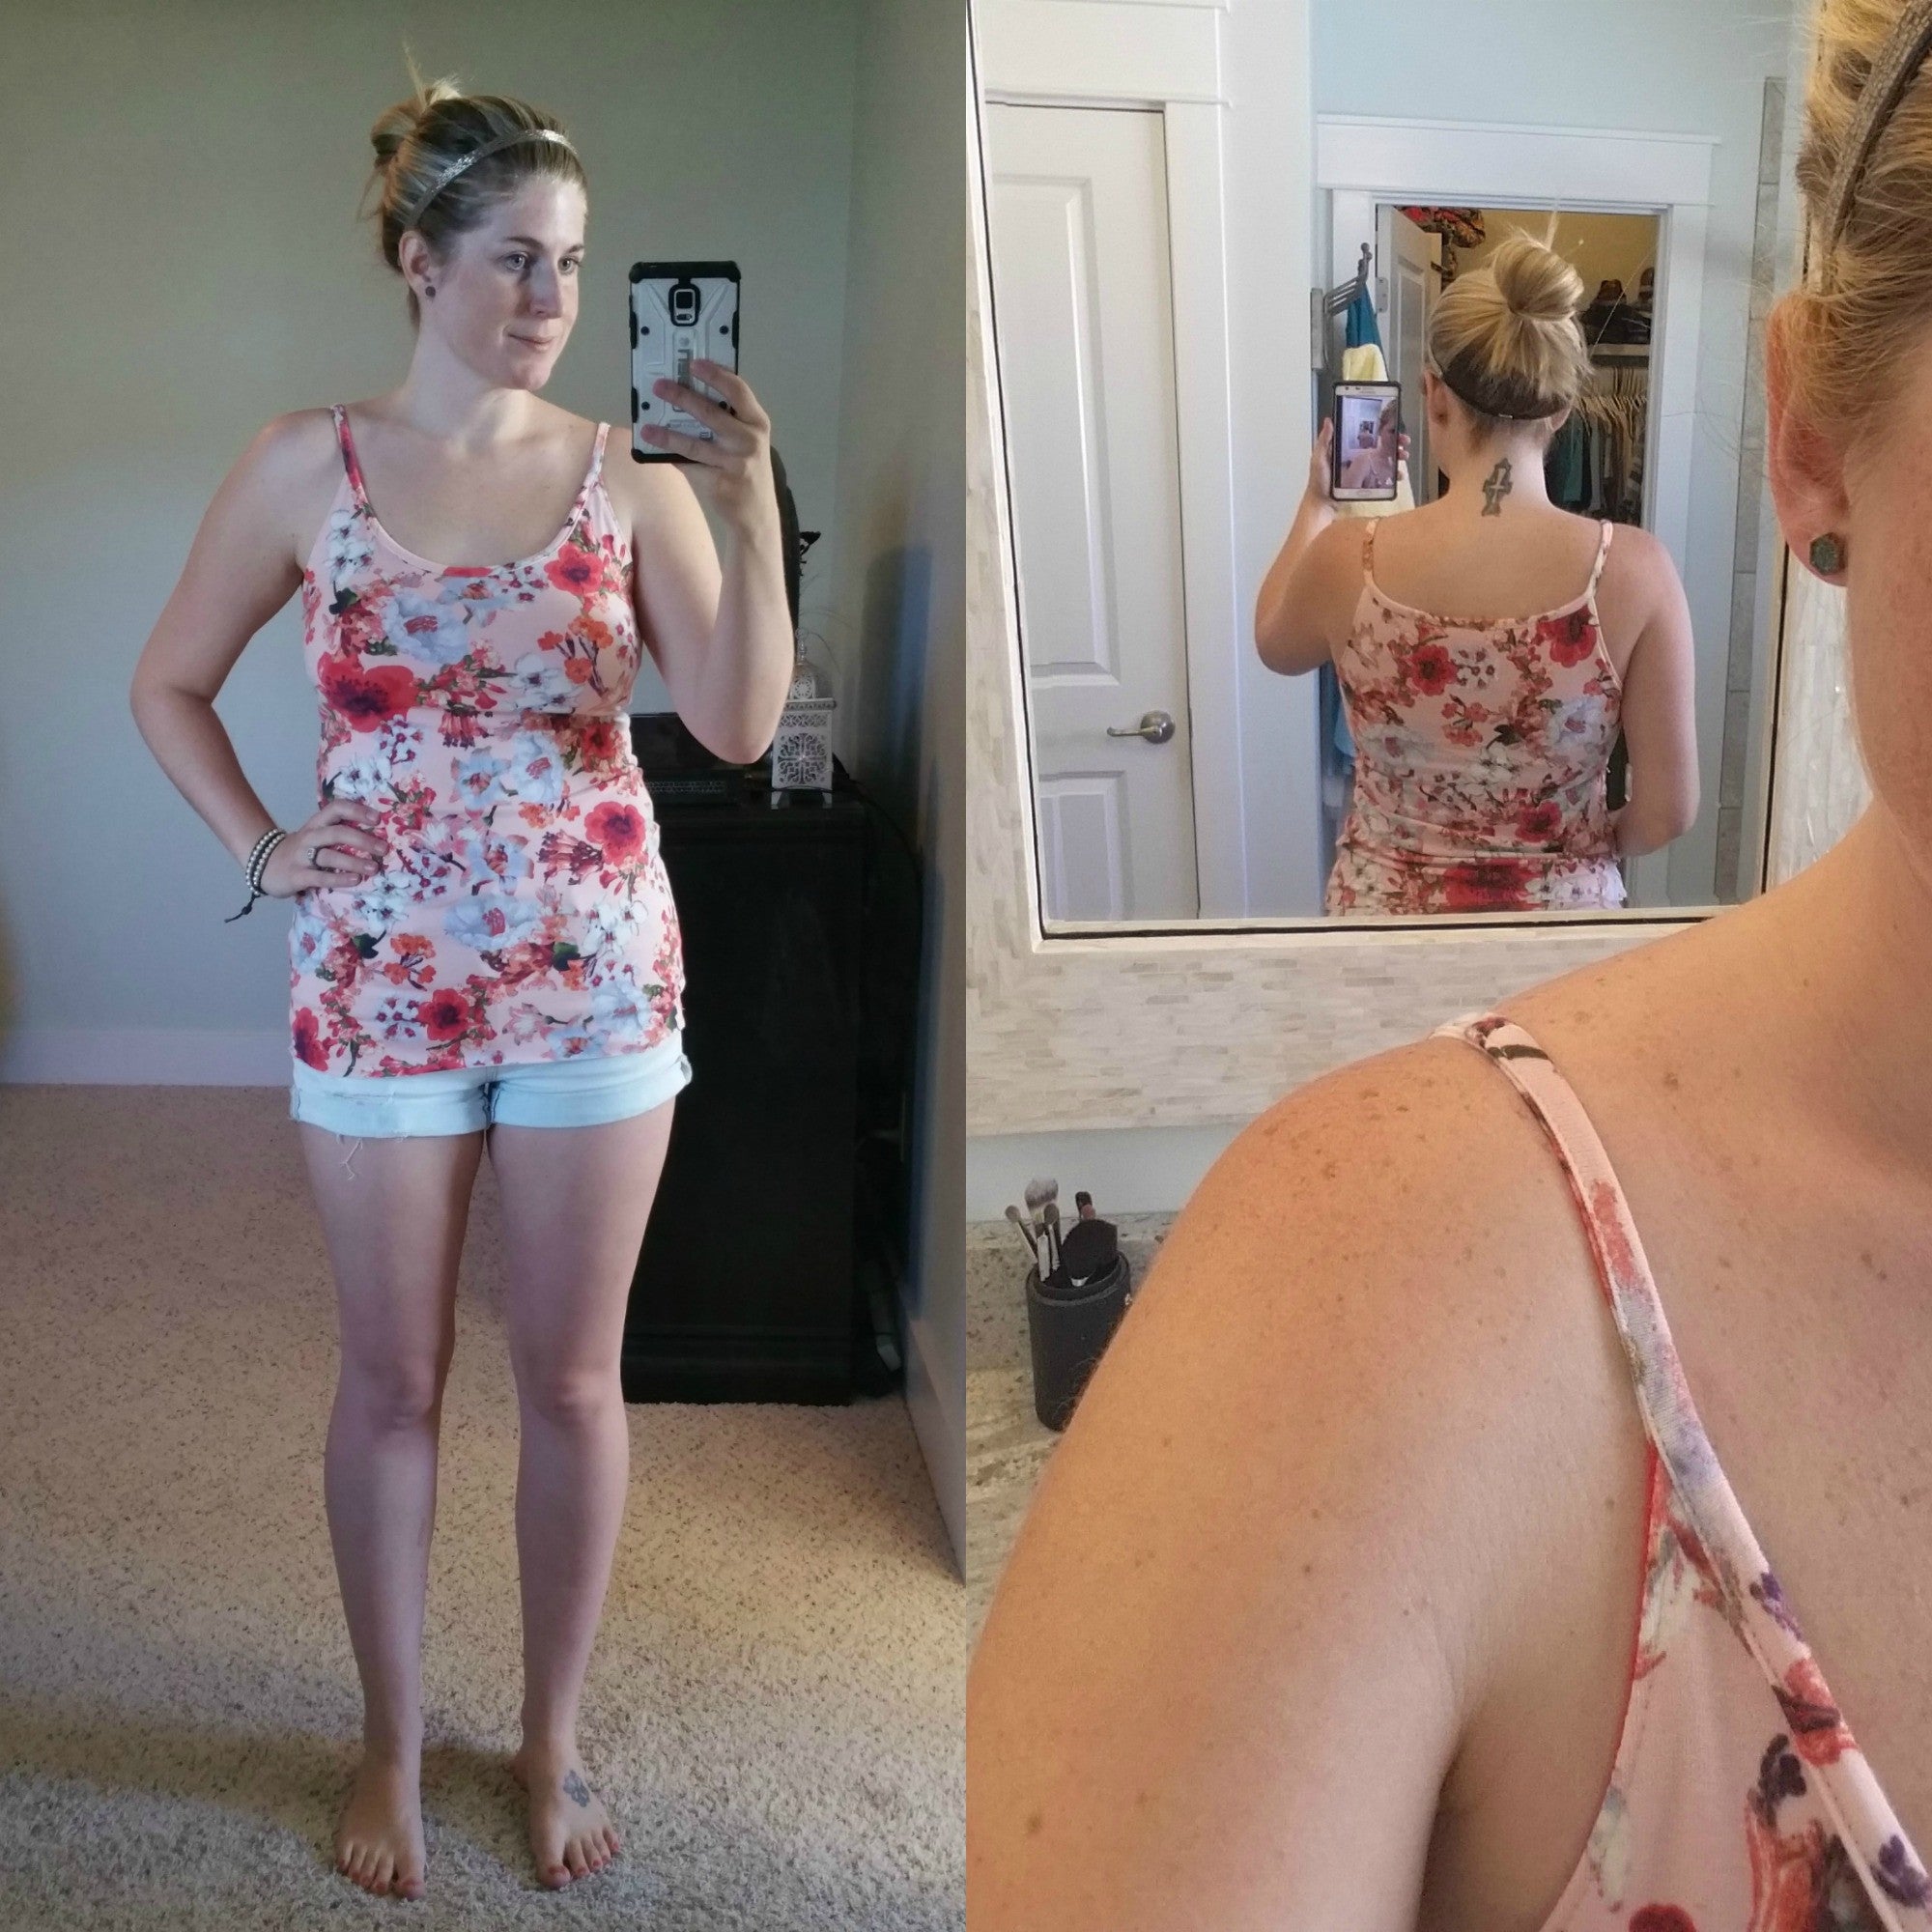
Please excuse the mirror selfies, but I'm missing a piece to my tripod and wanted to get this tutorial up for you all. :)
 You'll need to cut out the following pieces:

Next place your slim fit pattern pieces right sides together (RST), sew or serge your side seams.

Do the same to your shelf bra pieces.

Now you will need to decide your length of elastic, it's really up to you and how tight you would like it. I wrapped the elastic just under my bust until it felt comfortable, but still fairly tight so it gives me a little support (not that it will give you much since it's just a shelf bra of course), then overlapped it .5" and cut it. The length of my elastic ended up being 6" less than my under-bust measurement.
Overlap your elastic by .5" and sew a box with a zig zag stitch to secure.

Mark off your elastic into quarters. Also, mark the center front and center back of your shelf bra (the shelf bra should be inside out).

Match up your center pins of the elastic and shelf bra. Next pin the other elastic marks to the side seams of the shelf bra.

You will now serge your elastic to the shelf bra. The elastic should be lined up with the raw edge of the shelf bra. You'll stretch the elastic out as you serge, but be careful not to stretch the knit out also. (If you don't have a serger, you can use a stretch stitch to attach the elastic.)

This is what it should look like now.

Flip the elastic up.

Stitch along the serged edge (with a stretch stitch of course). You will pull the elastic as you sew, just enough so that the fabric is flat and not bunching up.

Your shelf bra is complete and ready to be sewn in. (If you are wanting to add cups, I suggest sewing them after the top is complete so you can try it on to get the best positioning.)

Slide your shelf bra inside the top (RST).

Pin together to hold in place.

Turn your top so that the armscye is facing you and pin together the shelf bra and top. Next sew the armscye with a 3/8" seam allowance. Repeat for the other armscye.
 It should now look like this.

Turn your top right sides out.

The inside should look like this now.

Iron and topstitch the armscye. Repeat for other armscye.
Head back to page 14 for plain straps or page 17 for tie straps to complete your Desert Breeze Cami! If you would like to add cups to your shelf bra, check out the tutorial over on the Closet Case Files blog here.
Hope you enjoyed this tutorial!!
xoxo,
Mandalynn
Comments will be approved before showing up.