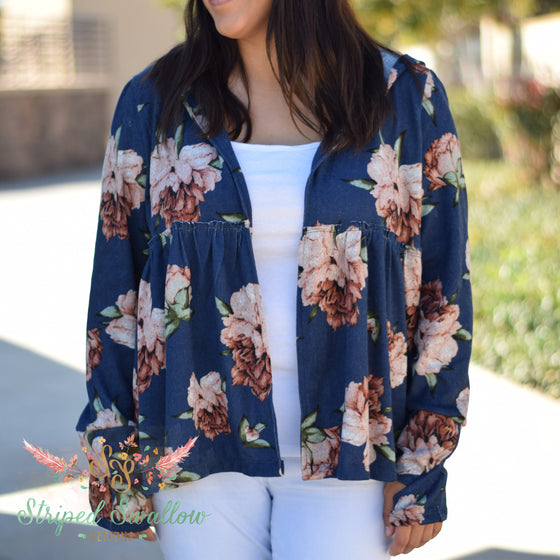
How stinking cute are the Emerie Rompers with drawstrings?! A couple testers added drawstrings to their versions and they turned out so awesome I decided a tutorial was in order! :) You can of course skip adding the elastic and thread a drawstring through, but for my tiny little babe I decided to go with a faux drawstring (I'll provide measurements for both below). If you have already made your romper it's pretty simple to add a drawstring by taking out just a few stitches. I'll show you how to do so at the end of this post.

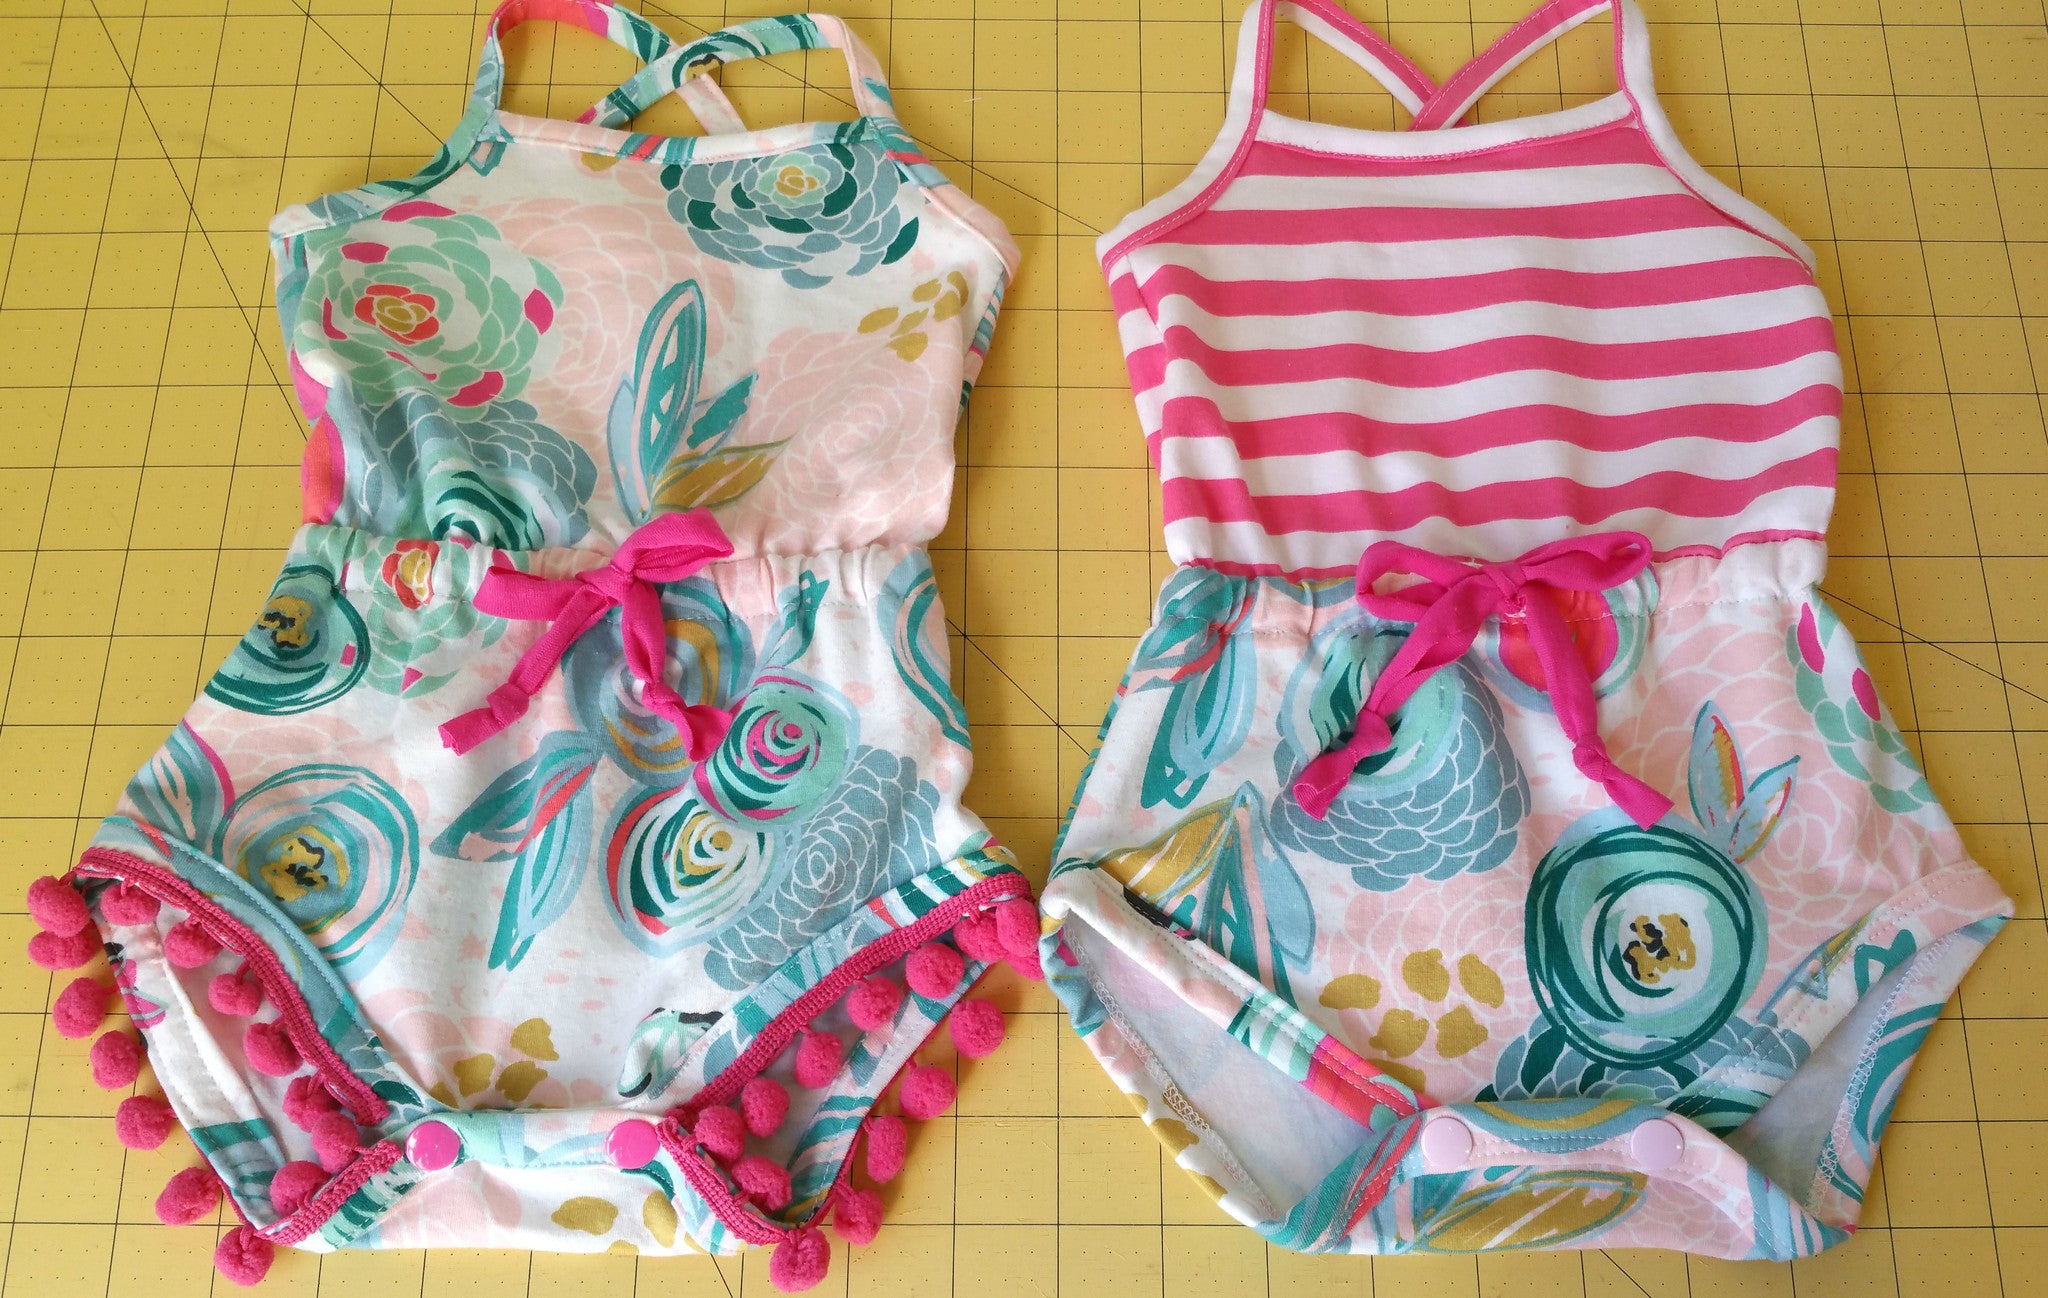
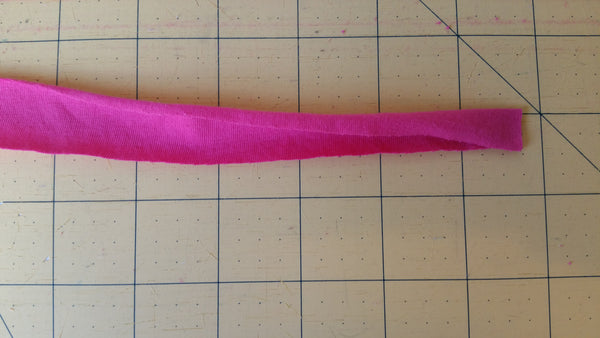
The rompers above are both View B without the flouces and faux drawstrings. (Fabric: Art Gallery's Chalk and Paint Sprayed Blooms by Sew Caroline and Riley Blake Knit Hot Pink Stripes)
Use the following chart to cut your drawstring (if making a faux drawstring, cut 2 strips using the measurements in the first row).


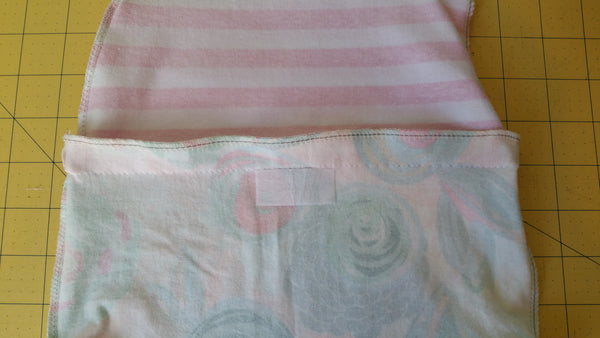
Follow along the tutorial until you get to page 20. Your bodice and bloomers should be sewn together (as shown below) and raw edges serged, but the casing should not be sewn yet.

Decide which way you will be sewing your casing (up or down), more info on this on page 20. I have chosen my casing to go down so the casing and drawstring will be on the bloomers when finished. Cut a piece of fusible interfacing 1"x1.75". Place it in the center, against the seam.
If you are sewing your casing on the bodice, you will want your interfacing placed as shown below.

Mark on the right side of the fabric where you will place your buttonholes. I placed my buttonholes 3/8" away from the center and started them 1/2" below the waist seam. You will want the buttonholes 1/4" wide. Sew the two buttonholes (make sure you move the casing out of the way!).

Cut your buttonholes open. Then grab one of your strips of fabric and fold the end in half.
You are going to be sewing the end of the strip to the seam allowance along the side seam.

Make sure you are only sewing it to the seam allowance and not the bodice or bloomers.

Pull the elastic through the buttonhole and then repeat with the other side.

Fold the seam allowance over the drawstring. Push the drawstring up against the seam so you do not end up sewing it while making the casing.

If you would like to pin your casing closed before sewing, go ahead and do so. Also, make sure your drawstrings are pulled out of the way prior to sewing. (If the casing is being sewn on the bloomers, pull them through the top and if your casing is being sewn on the bodice, pull the drawstrings down through the bloomers.)

Head back to page 20 and sew the casing (be careful the drawstring is pushed out of the way). Leave a 1-2" opening to thread your elastic through. Then insert your elastic as instructed in the pattern.
Tie knots on the end of your drawstrings.

Then tie the drawstring in a bow and make sure it's the length you are wanting and then clip off the little extra on the ends. Then head back to the pattern tutorial to finish your Emerie Romper.

How many times do you create something and decide it's missing something?! I do all the time!! That's actually what happened to this Emerie Romper! ;) If you are already completed your romper and then decided you want to add a drawstring, you're in luck because it's pretty simple to do so! Cut two strips of fabric using the following measurements in the first row of the table below.

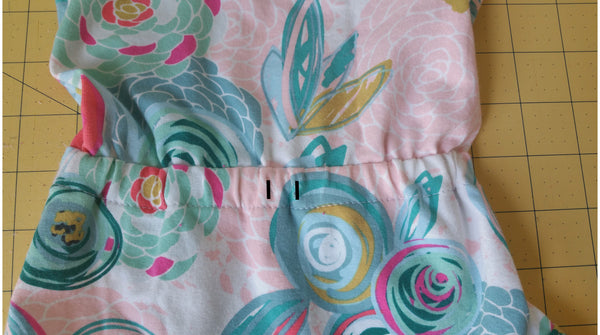
Clip two 1/4" slits, 3/4" apart in the center of the casing, on the front of the romper (make sure not to clip the elastic).
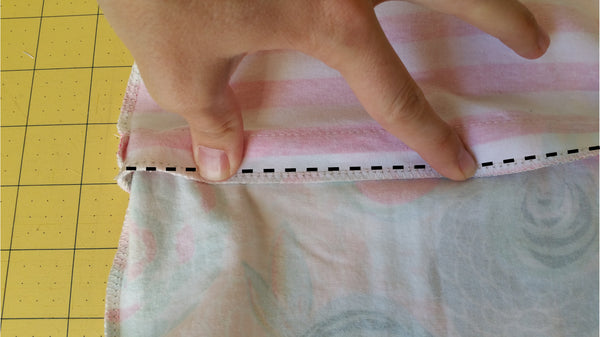
Turn the romper inside out and find the stitching on the back of the romper. You will want to seam rip approx. 1" just behind the side seam (make sure you are taking out the stitches that are along the serged edge as this is where you created the casing and not the waist seam).
Grab one of the drawstrings and start threading it through from the back through the side seam and to the front.

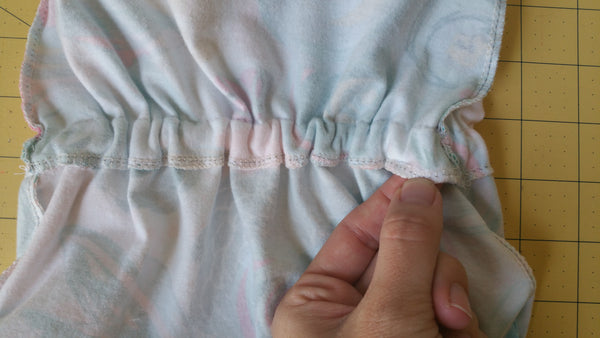
Pull the end of the drawstring through the slit closest to the side seam you are threading it through. Being careful not to pull the other end through the casing just yet.


Next pull the drawstring through so that it is all in the casing, but make sure to leave a little (approx. .5") behind the side seam as that's where you will be securing it.

Repeat for the other side. Knot the bottom of the drawstring pieces, tie in a bow and shorten the bow to the length you would like (if needed).

I hope you have enjoyed this super fun tutorial for the Emerie Romper!!
xoxo,
Mandalynn
Comments will be approved before showing up.